Recently, I’ve been feeling that my old desktop computer has fallen seriously behind the times, so I decided to give it a series of upgrades.
This is an experiment in tinkering with an old platform, not a recommendation for a mainstream modern build.
Platform Configuration
My original configuration was as follows:
| Component | Details |
|---|---|
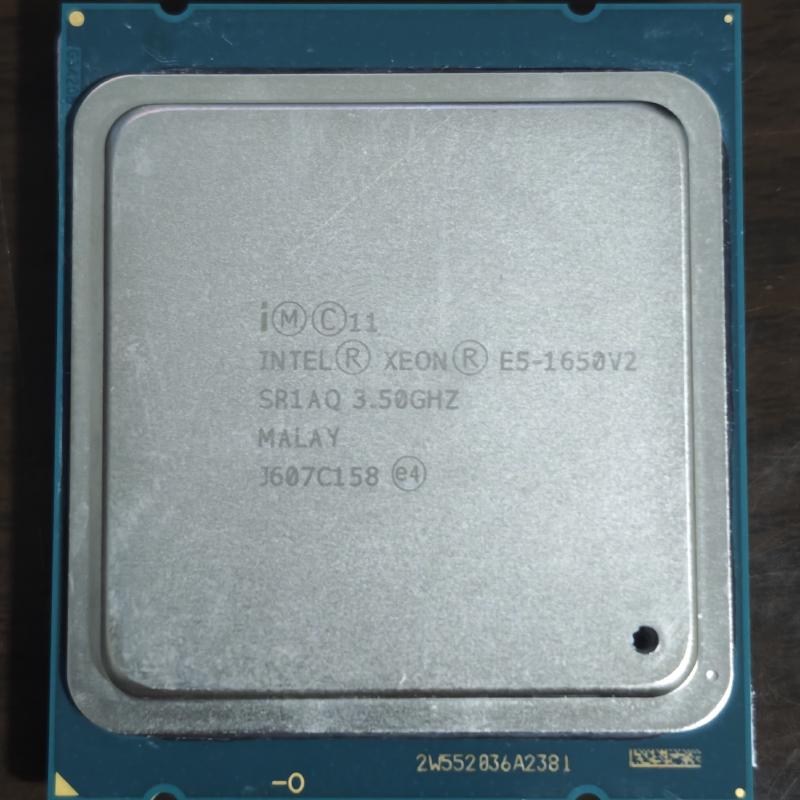
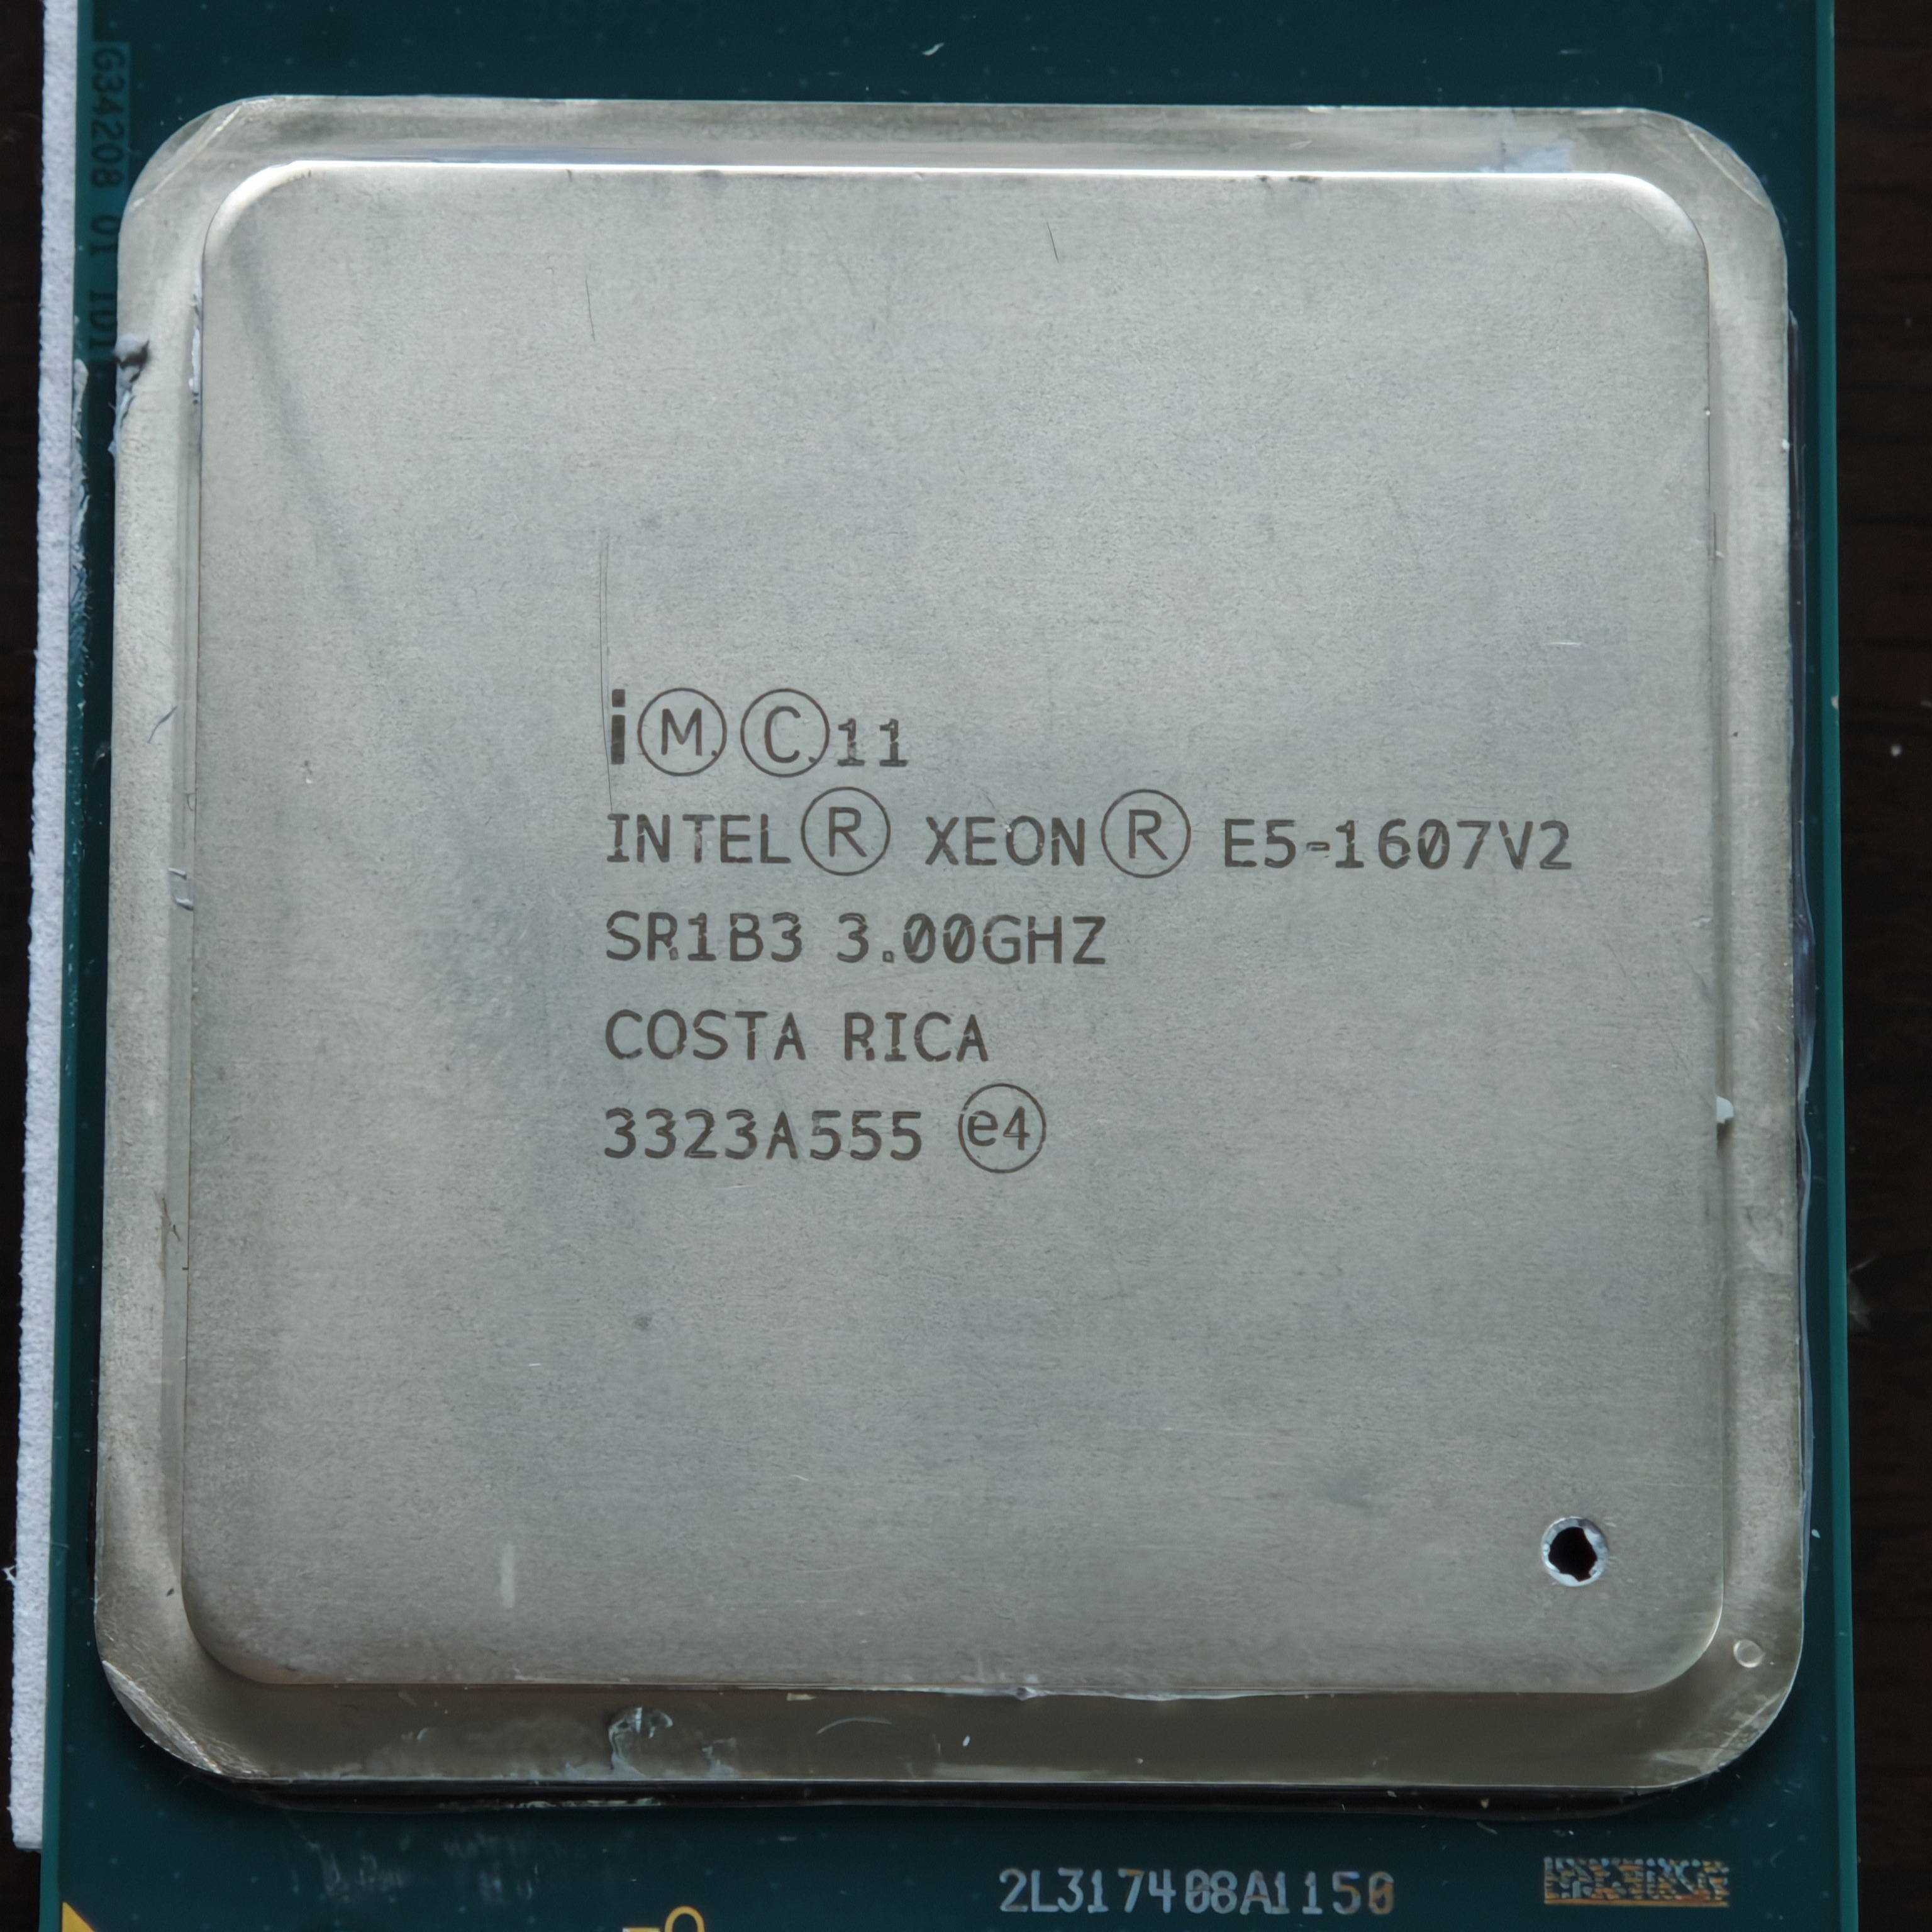
| CPU | Intel Xeon E5 1607 v2 (4C/4T @ 3.0GHz) |
| Motherboard | Generic / Unbranded X79 |
| Memory | 16GB Micron DDR3 1333MHz |
| Storage 1 | 1TB Western Digital WD1003FZEX (HDD) |
| Storage 2 | 1TB Western Digital WD10EZEX (HDD) |
| Graphics Card | AMD Radeon RX 6500 XT 4GB |
| Network Card | TP-Link TL-WDN5280 (RTL8821AE, WiFi 5) |
| Monitor | HP L2245w |
| OS | Windows 11 Pro 24H2 |
To put it charitably, this setup is like a tableau of computing history: a monitor from 2008, a CPU from 2013, old Western Digital Black and Blue hard drives, and a graphics card from 2022. Anyone with a bit of experience can spot the issues: a weak CPU, a mechanical hard drive struggling to run Windows 11, limited GPU performance, and an ancient single-antenna network card.
Upgrade Strategy
The most pressing issue with this build was the terrible experience of running Windows 11 on a mechanical hard drive—long boot times and pervasive stuttering. This had to be addressed first by adding an SSD.
Secondly, the CPU’s performance was no longer satisfactory. The E5-1607 v2 is the weakest model in its Ivy Bridge E5 family, featuring only four cores at 3.0GHz, a locked multiplier, and no Hyper-Threading.


Furthermore, the outdated single-antenna network card performed very poorly in today’s network environment, making it another necessary upgrade.
The issue of the X79 platform only supporting PCI-E 3.0, which prevents the RX 6500 XT from reaching its full potential, was temporarily ignored as the performance difference isn’t particularly significant.
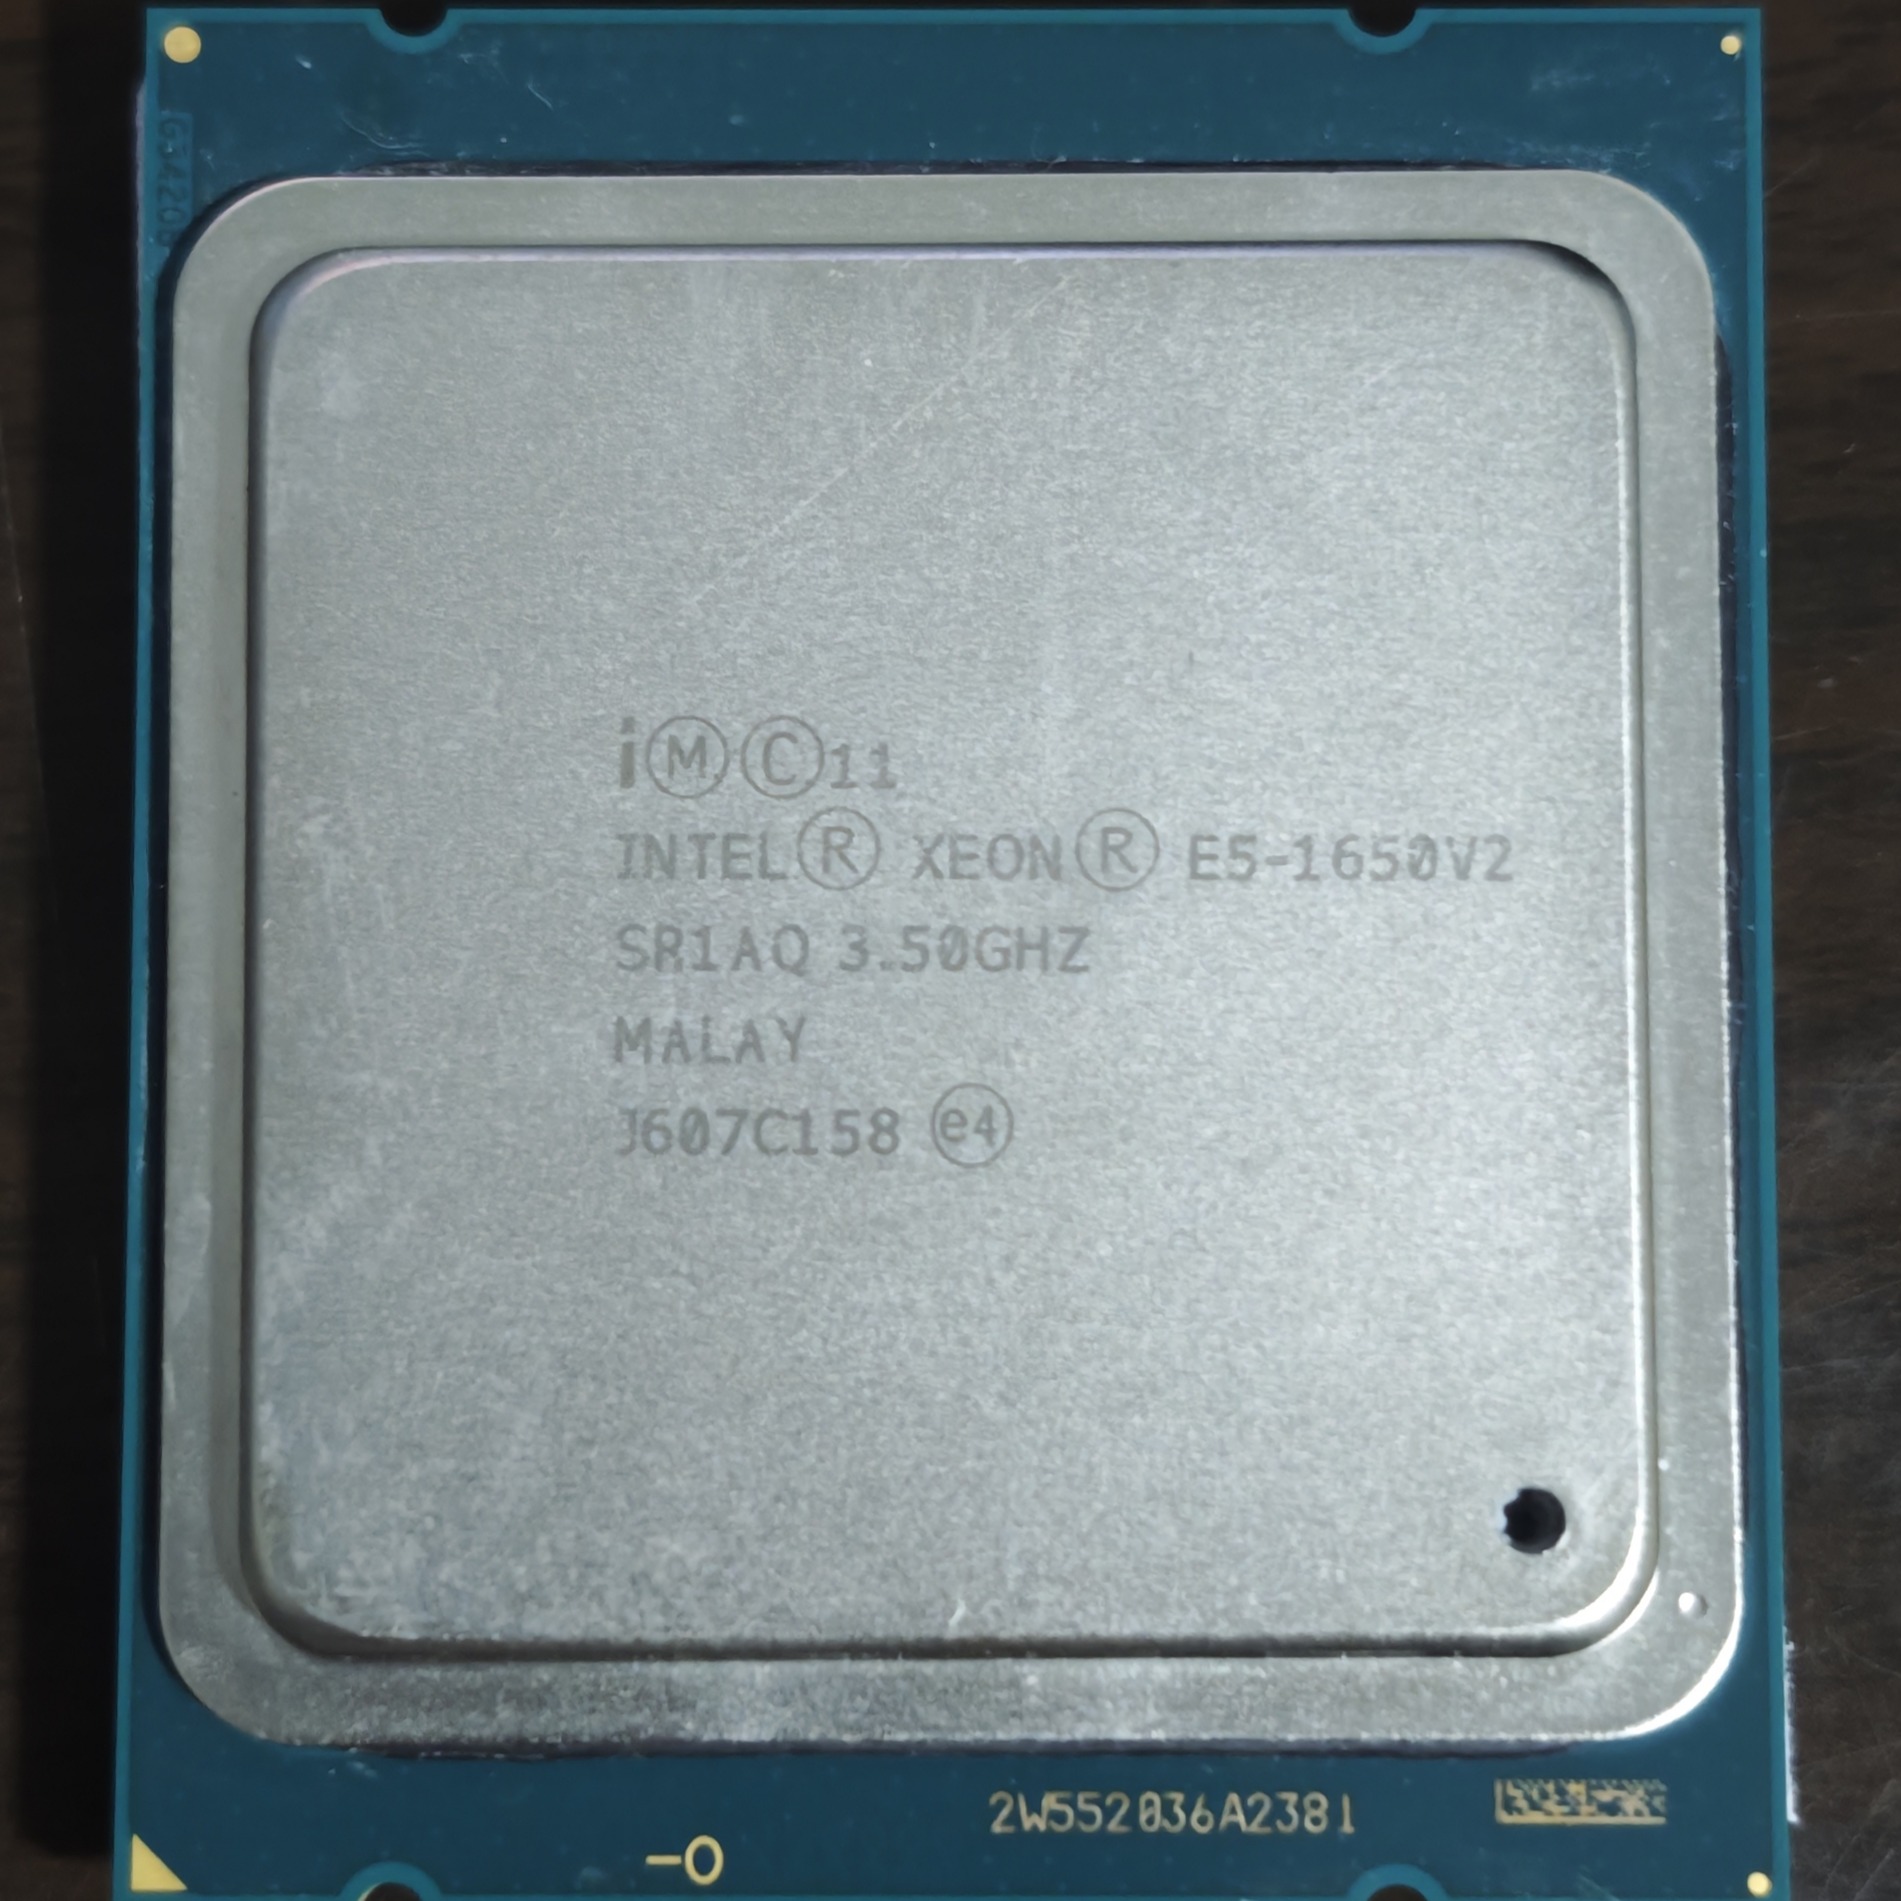
CPU Upgrade: E5 1650 v2 - ¥45 (approx. $6 USD)
Selection
Among the available CPUs for the X79 platform, the E5 1650 v2 is a real standout. With six cores, twelve threads, and a 3.5GHz base frequency, its specifications are very close to the legendary Core i7-4960X Extreme Edition. Its unlocked multiplier also means it can be overclocked to further boost performance. At its current price of ¥45, it’s an incredible value.
Review
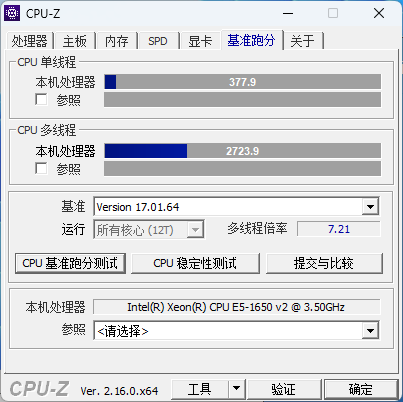
Running a CPU with an unlocked multiplier at stock speeds would be a waste. After installing it, I immediately pushed the all-core multiplier to 39 and checked the CPU-Z scores.
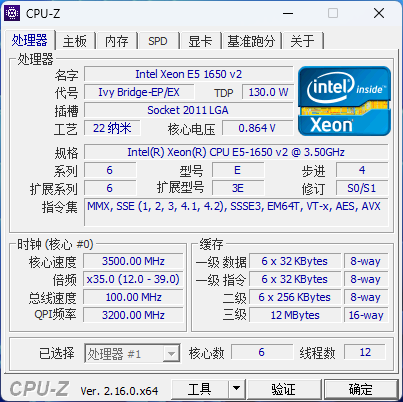
My particular chip seems to be of excellent quality (a “golden sample”), running at 3.5GHz on just 0.864V. After a brief stress test, it handled the load with ease. So, I pushed the overclock further to an all-core 4.0GHz and saw another performance bump.
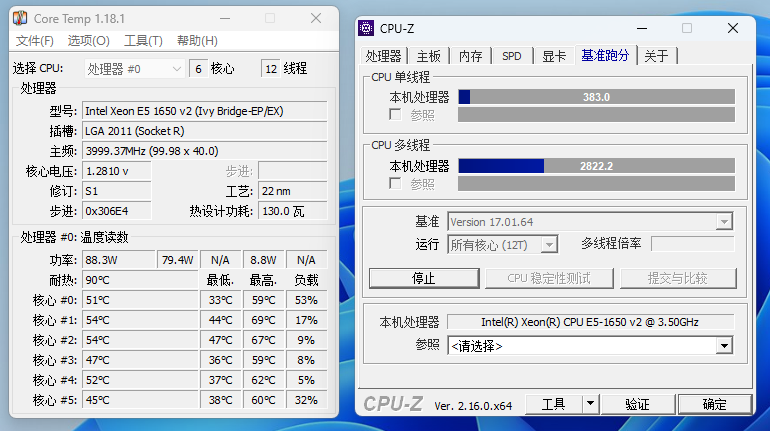
Note: I noticed that the voltage reported by Core Temp always seems to be about 0.1V higher than what CPU-Z shows.
Pushing the overclock to an all-core 4.2GHz resulted in a boot failure. I also found that even at 4.0GHz, the CPU would automatically downclock after a while under a stress test, despite normal temperatures and voltages. I suspect the motherboard’s power delivery was overheating and couldn’t keep up—after all, you can’t expect too much from a generic, unbranded motherboard.
Therefore, I decided to keep the frequency at a stable all-core 3.9GHz. Compared to the 1607 v2, this provides a substantial performance uplift: a 32.9% increase in single-core performance and an incredible 153.6% increase in multi-core performance.
Results
| Benchmark | E5 1607 v2 (4C/4T) @ 3.0Ghz | E5 1650 v2 (6C/12T) @ 3.9GHz | Improvement |
|---|---|---|---|
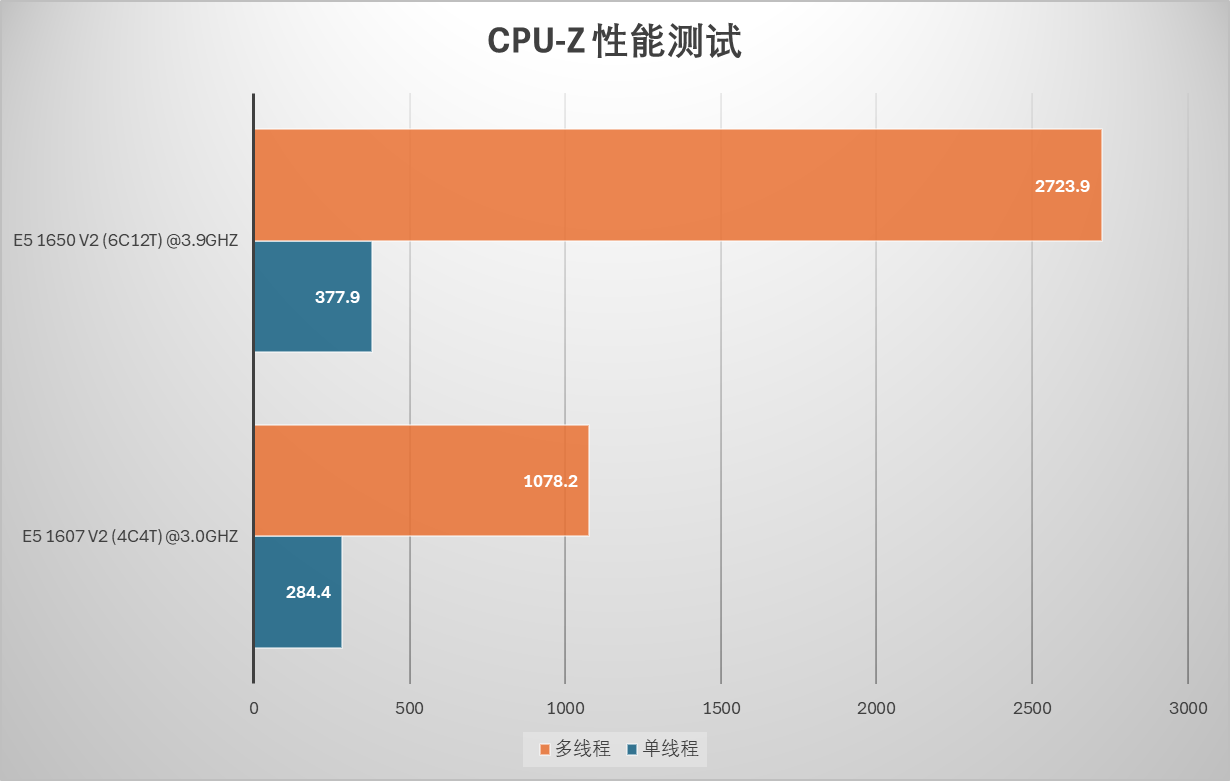
| Single-Thread | 284.4 | 377.9 | +32.9% |
| Multi-Thread | 1078.2 | 2723.9 | +153.6% |
Storage Upgrade: Acer RE100 256GB SSD - ¥115 (approx. $16 USD)
Selection
Since this computer is mainly for playing less demanding games and won’t store important data, I opted for a non-first-party SATA SSD: the Acer RE100 256GB. This drive uses TLC NAND, comes with a 5-year warranty, and the 256GB model has a rated endurance of 140 TBW. At ¥115, the price is quite reasonable. If it fails, I’ll just get it replaced under warranty.
Unboxing
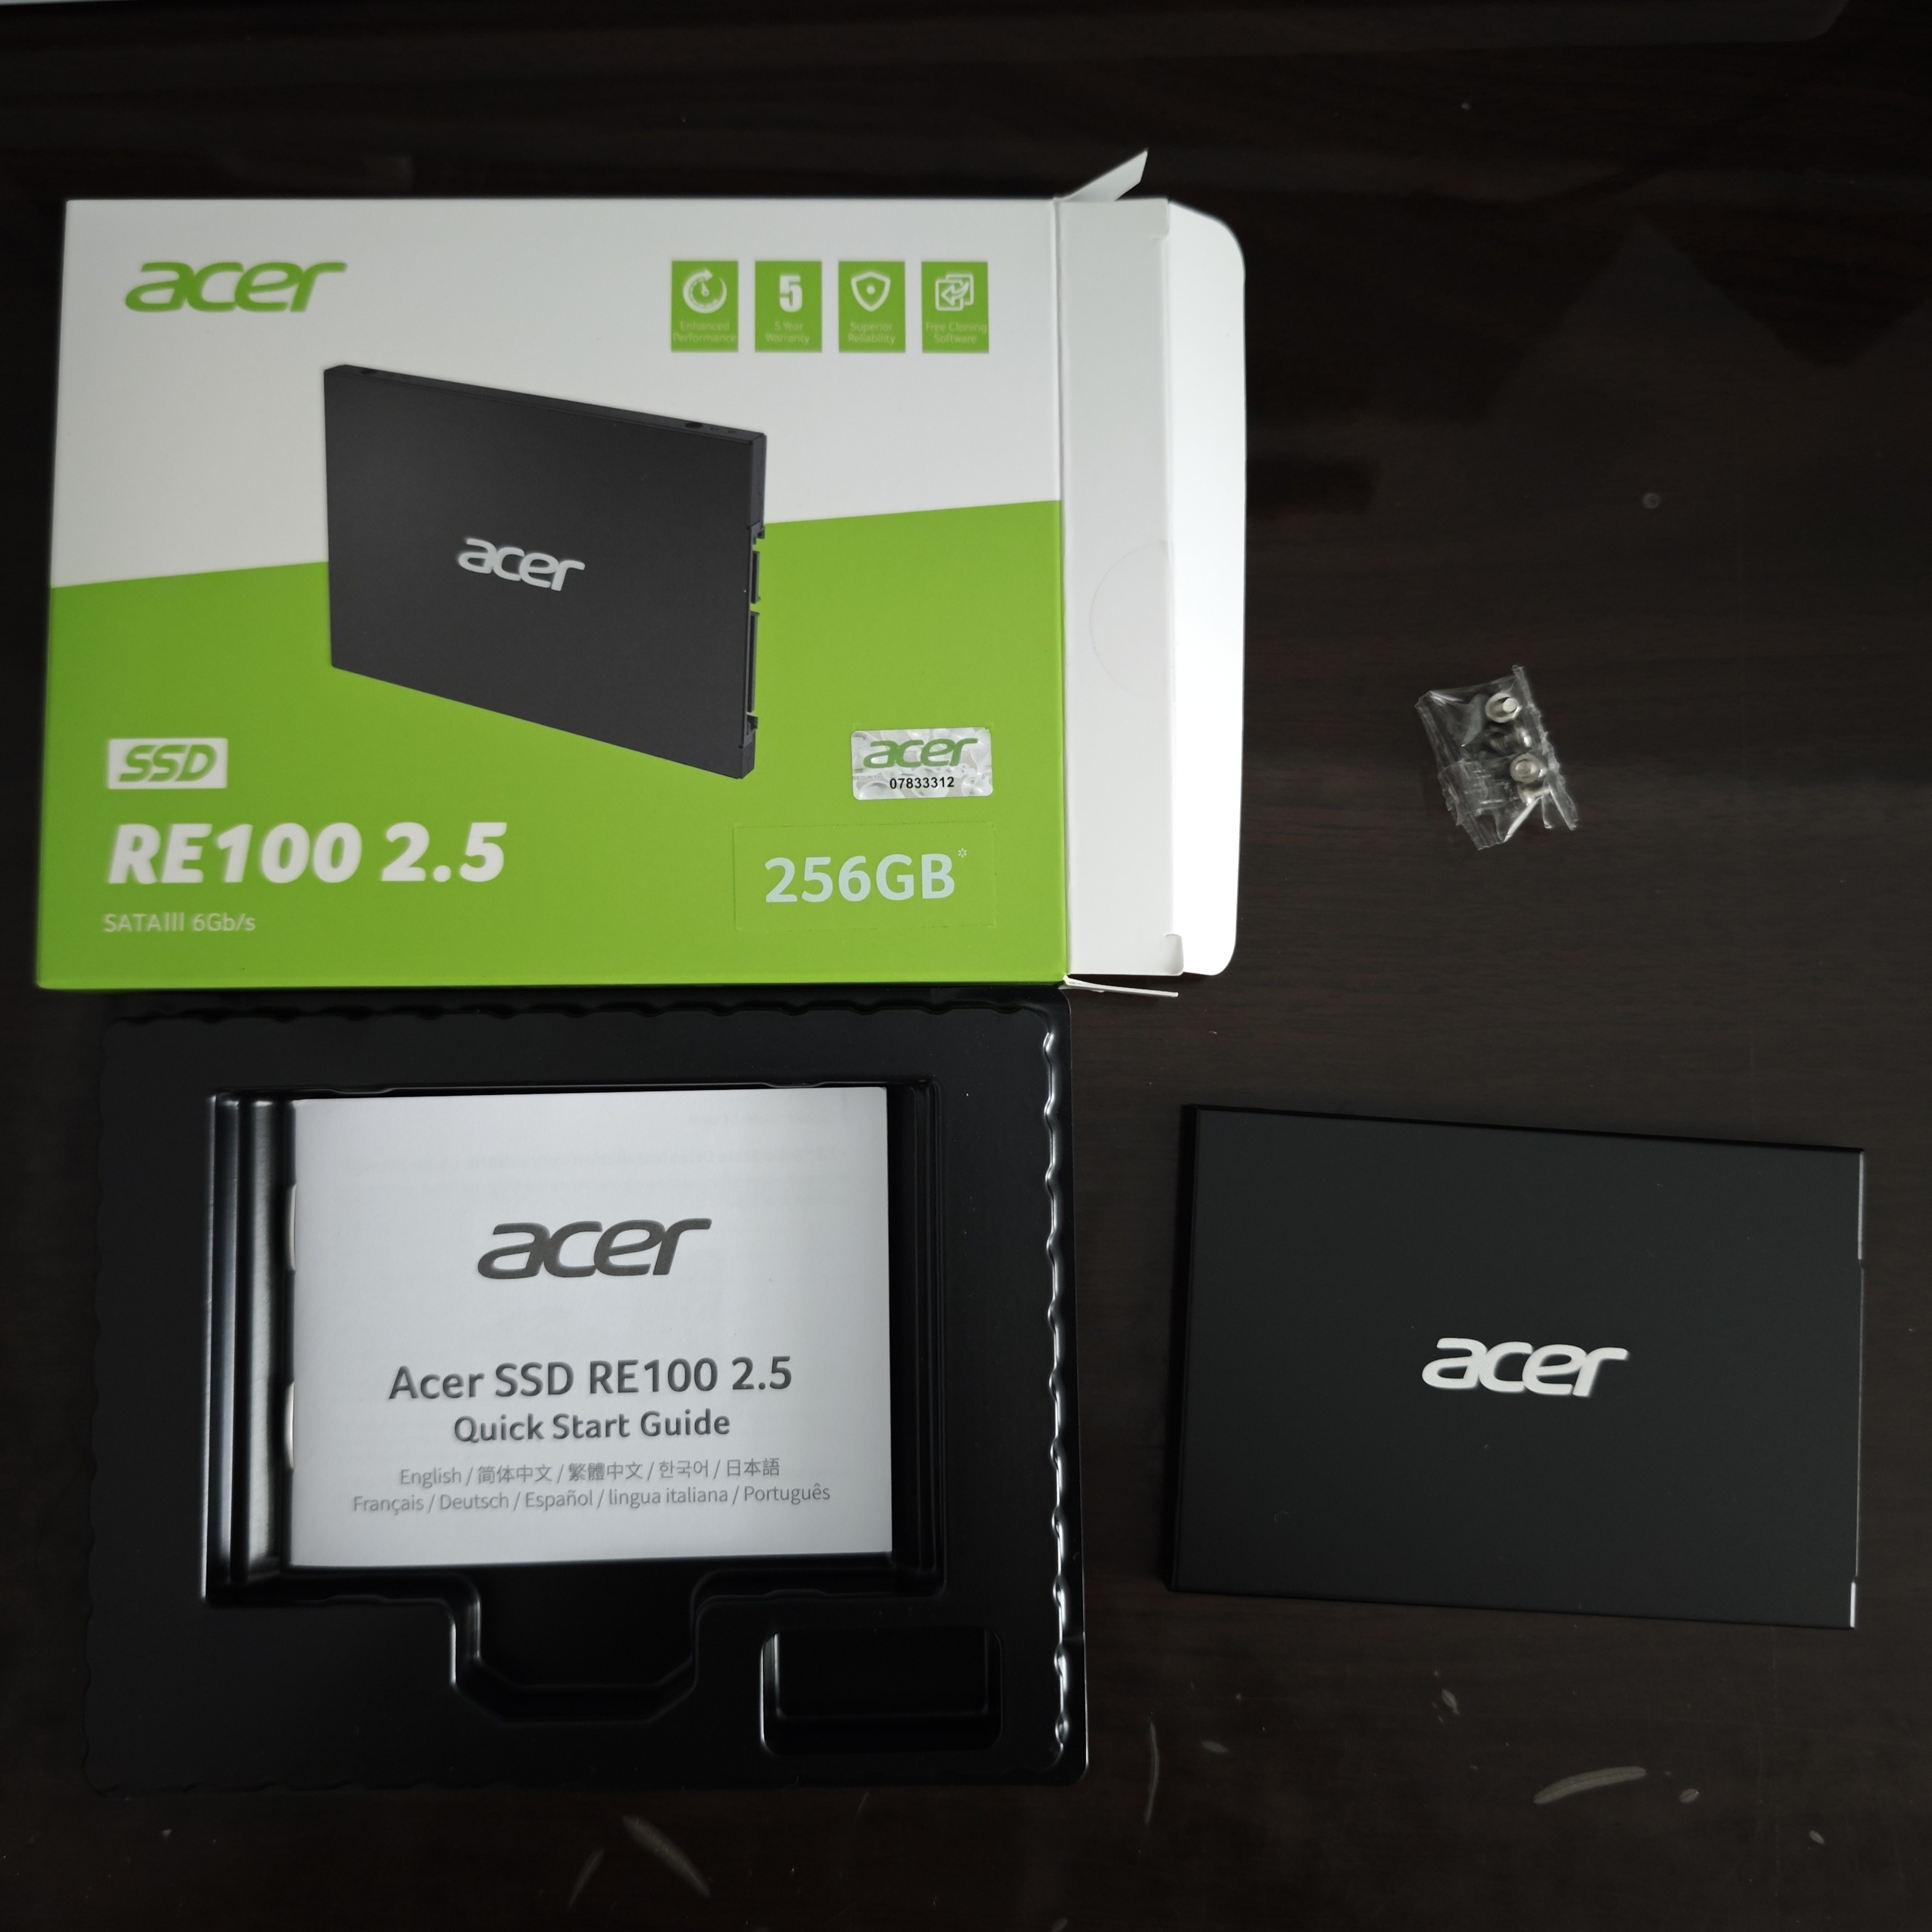
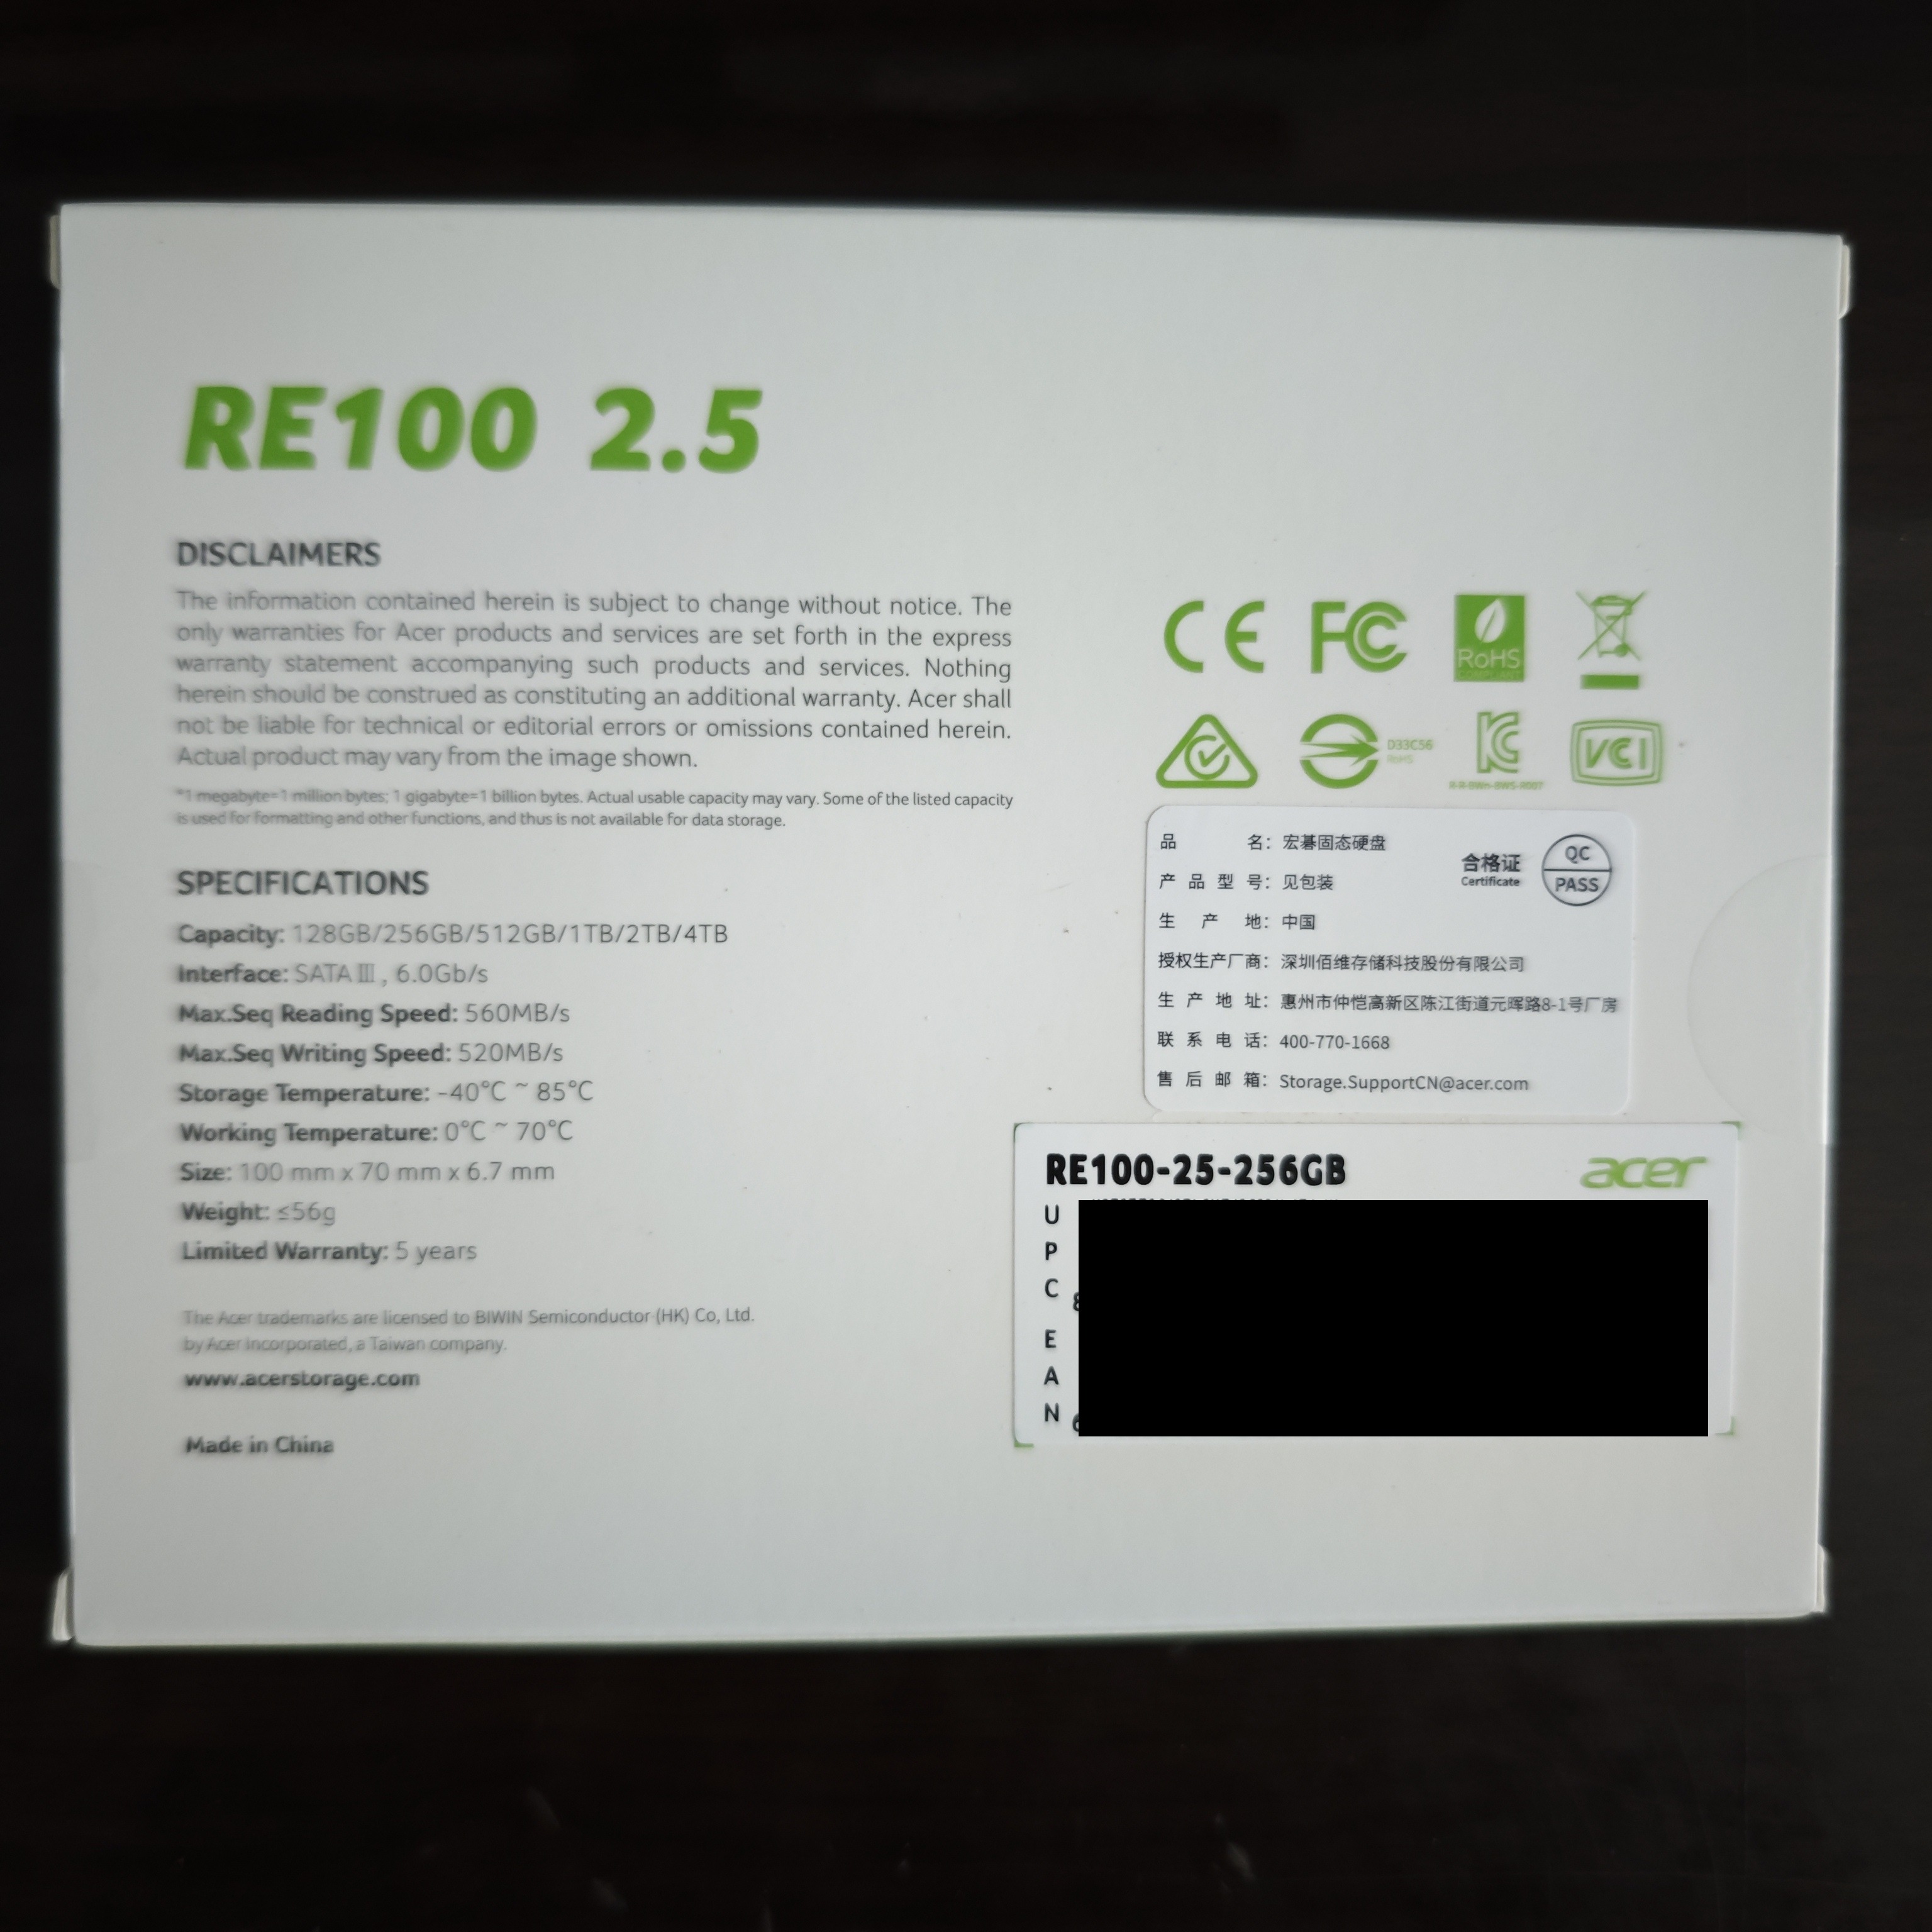
The packaging is a simple cardboard box containing the drive itself, a manual, and screws. The back of the box clearly states that the drive is manufactured by Biwin, which isn’t surprising since Biwin is the company behind Acer’s storage products. The drive features a black aluminum alloy casing that feels quite nice.
Review
Components
Using the FlashID utility, you can identify the drive’s controller and NAND flash.
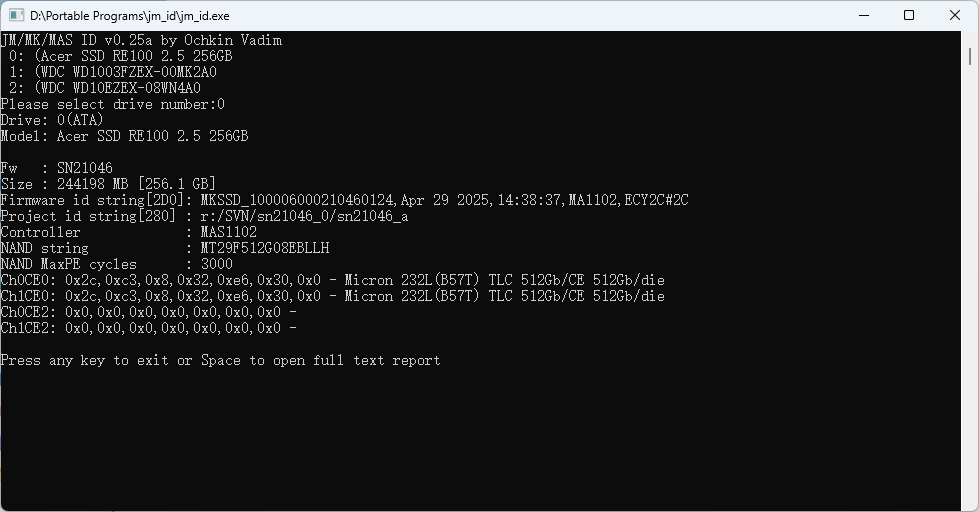
My specific drive uses a Maxio MAS1102 controller and Micron’s 232-layer TLC NAND in a DRAM-less design. This configuration is appropriate for its price point.
Performance
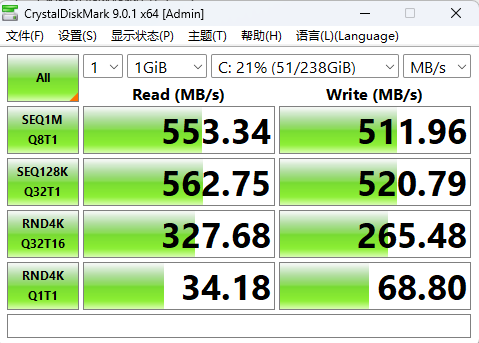
A CrystalDiskMark test shows performance typical for a low-end SSD.
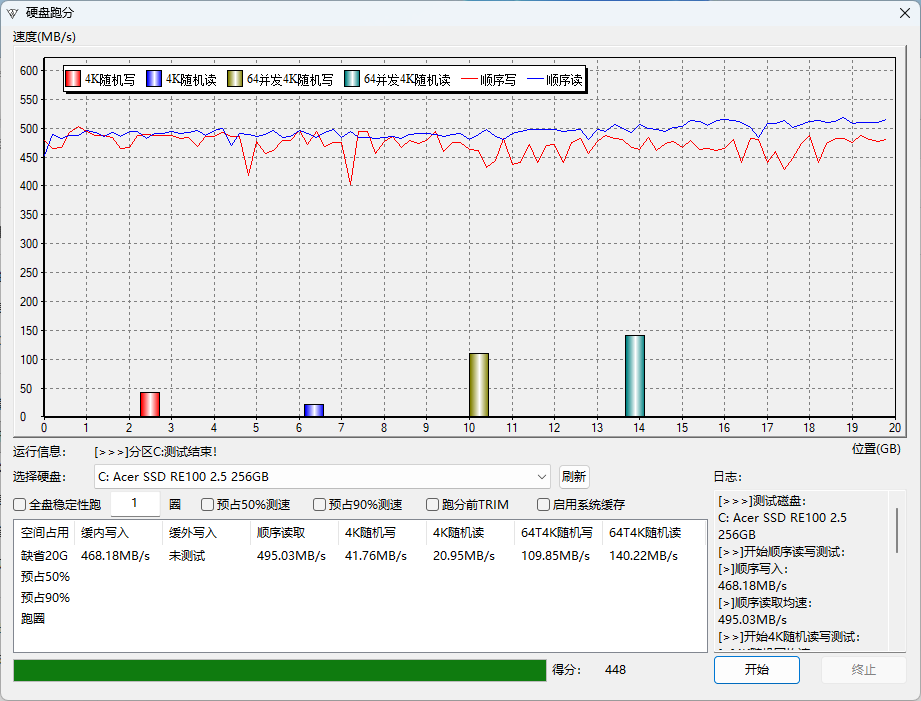
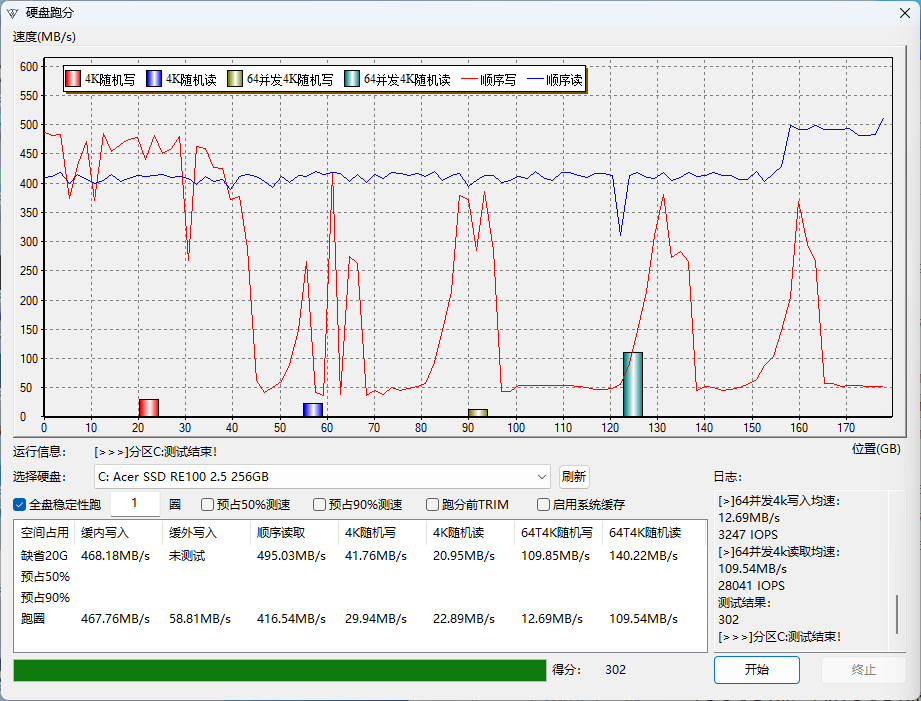
Using the “Baiyan” testing software (developed by a Chinese developer at epcdiy.org) to perform a full-disk write test, the speed initially holds at around 500 MB/s. After about 40GB of data is written, the simulated SLC cache is exhausted, and the speed drops to approximately 50 MB/s.
Software
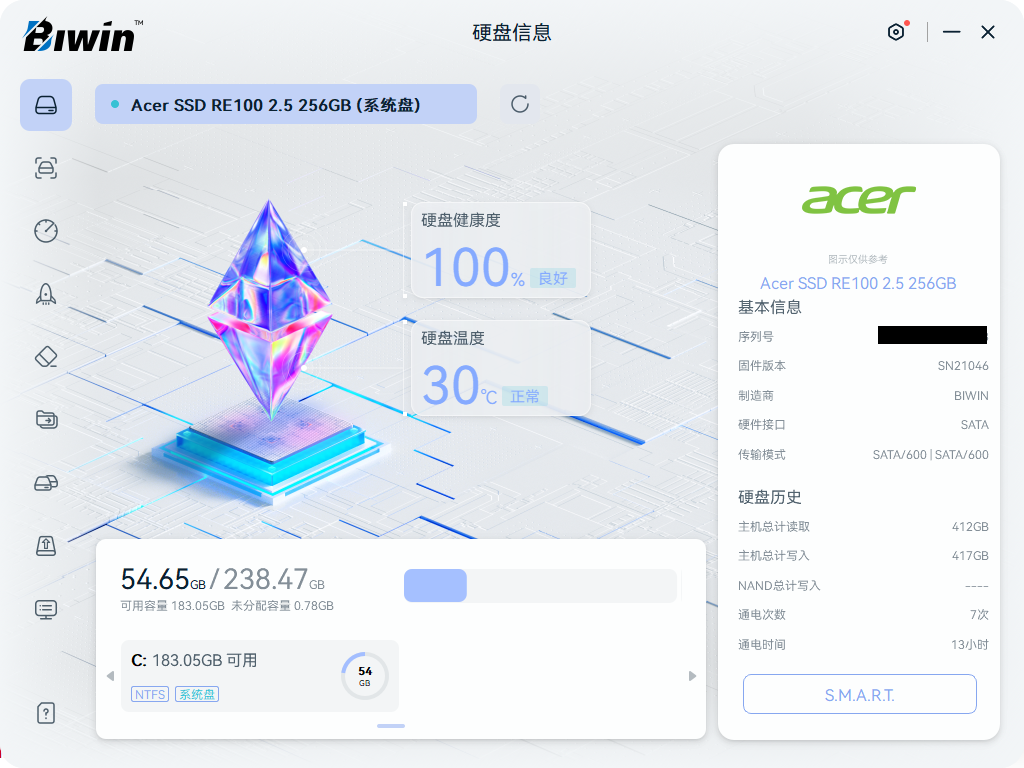
The official software provided is Biwin’s own drive management tool, Biwin Intelligence, which offers features like performance testing, data migration, and secure erase.
Network Card Upgrade: RTL8852BE - Kit for ¥28 (approx. $4 USD)
Selection and Installation
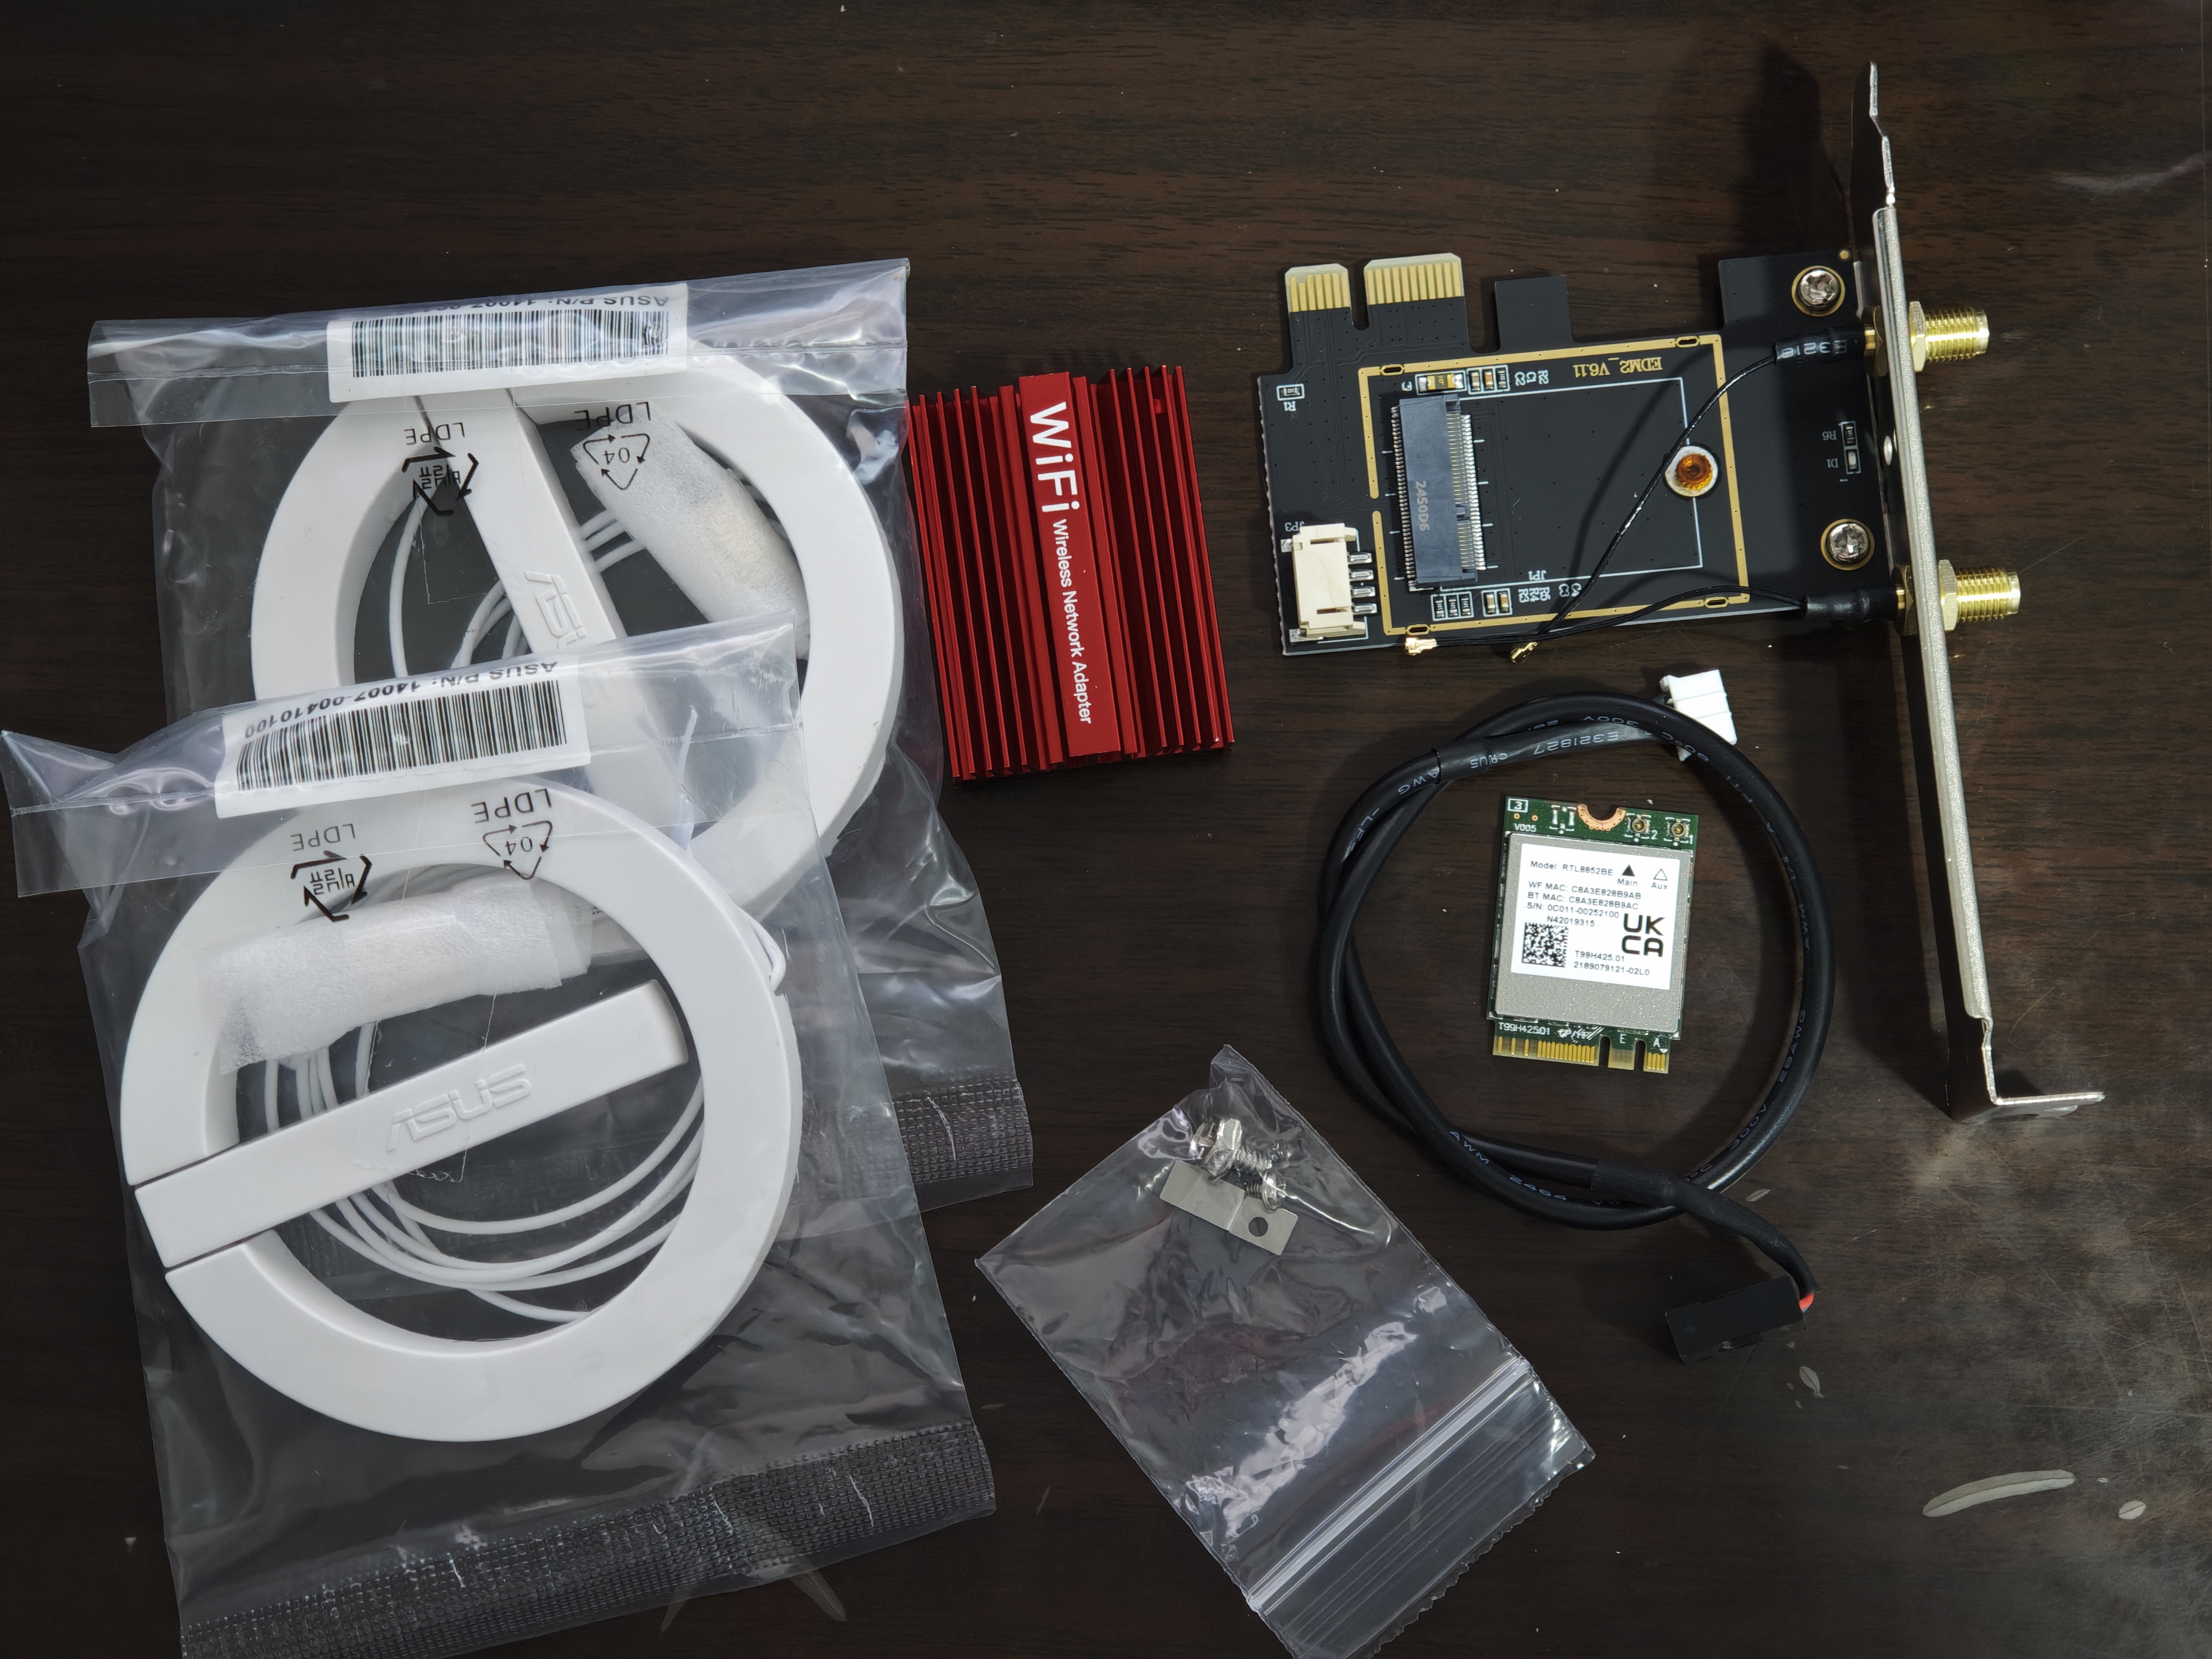
I happened to have a spare RTL8852BE wireless card salvaged from a laptop. This card is primarily shipped to OEMs and supports WiFi 6 and Bluetooth 5.3. However, its 5GHz bandwidth is limited to 80MHz, and early drivers had issues, giving it a poor reputation. But since I already had it, there was no need to buy a new one.
I purchased an M.2 to PCI-E adapter board along with external extension antennas for a total of ¥28. This setup also makes it easy to upgrade to something like an Intel AX210 in the future.
I removed the old card, installed the new one, connected the Bluetooth cable to a motherboard USB 2.0 header, attached the antennas, and the job was done.
Drivers
Perhaps because it’s an OEM part, I couldn’t find a driver download link on the Realtek website. Attempts to install OEM drivers or use driver utility software resulted in errors.
Ultimately, I found a working driver on DriverPack, and after downloading and installing it, the card worked perfectly.
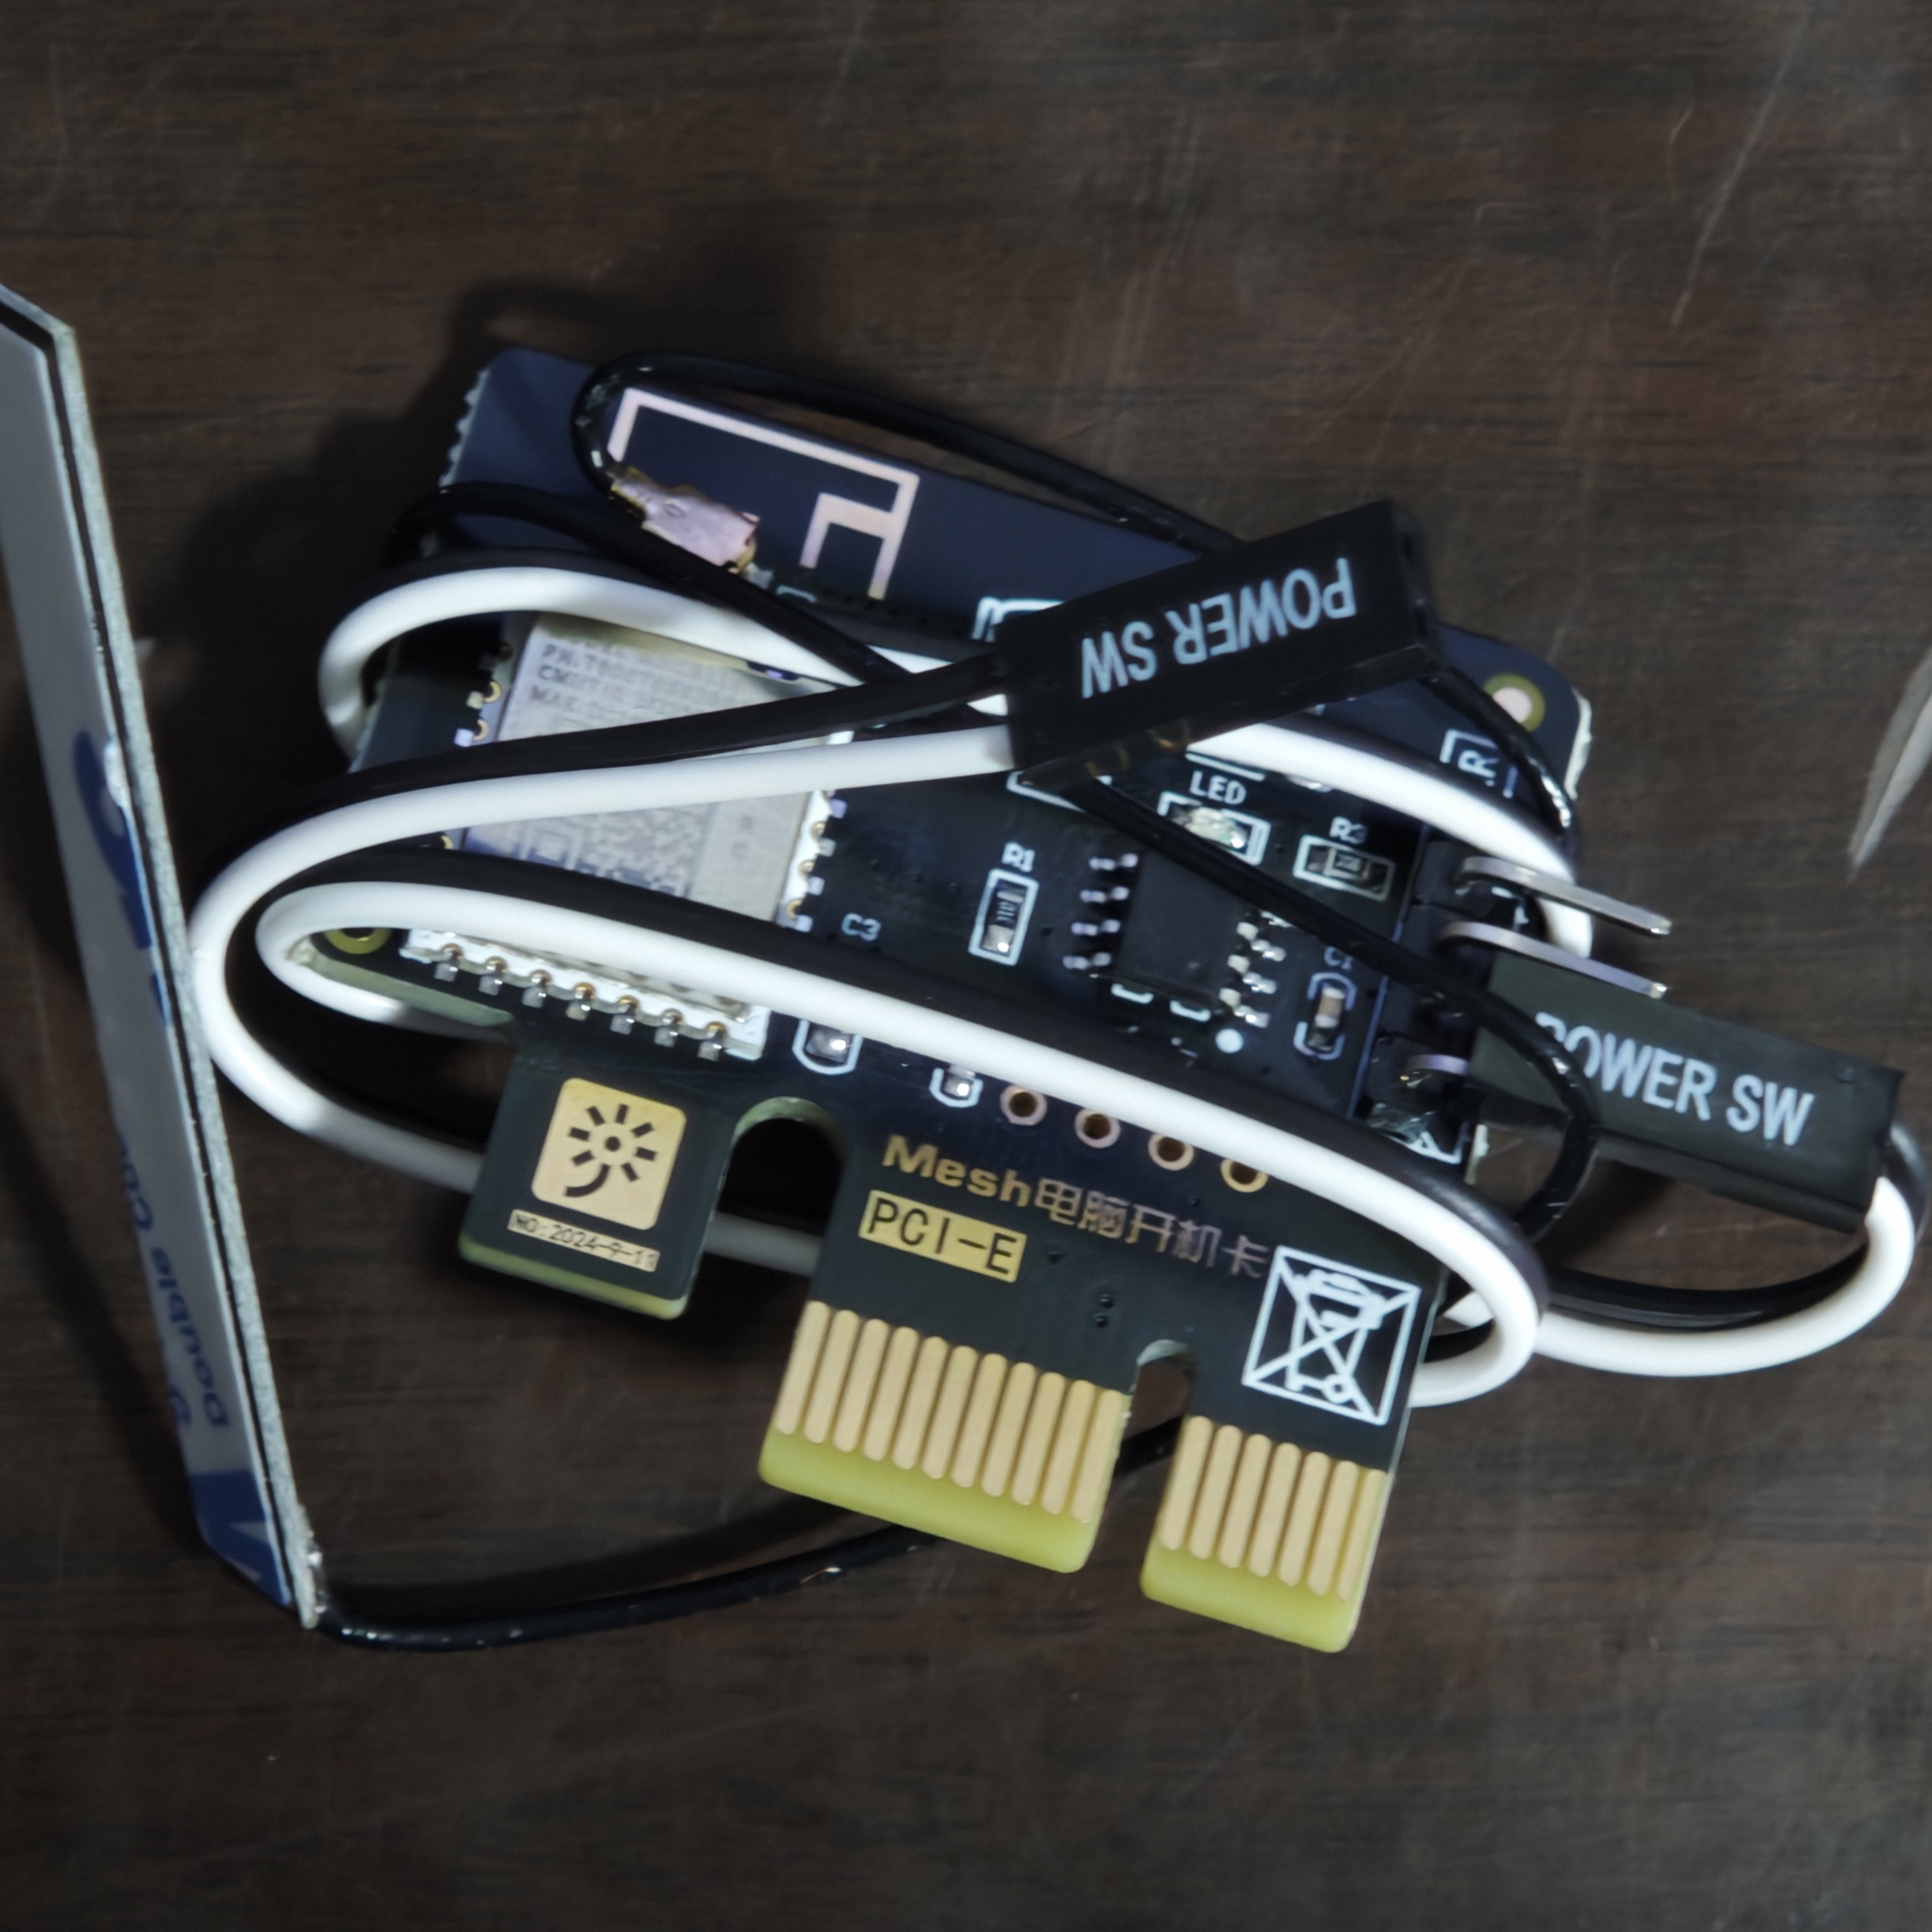
Other Upgrades: Mijia Smart Power-On Card - ¥15 (approx. $2 USD)
I also bought a Mijia Smart Power-On Card, which is essentially a Bluetooth Mesh switch. You connect the case’s power switch (PWR) cable to the card, then connect the card’s PWR cable to the motherboard. Plug the card into a PCI-E slot, power it on, and add it to the Mijia (Xiaomi Home) app. This allows you to control the computer’s power state through the app.
Requires a Bluetooth Mesh Gateway.

Conclusion
The total cost of this upgrade was about ¥200 (approx. $28 USD). The main improvements were to the CPU, storage, and networking, breathing new life into this old platform and making it ready to last another five years!
| Aspect | Before Upgrade | After Upgrade |
|---|---|---|
| Storage | Slow boot times, very laggy system response. | With an SSD as the system drive, boot-up takes only seconds, and the system is silky smooth. |
| CPU | Four cores and four threads, rather weak performance. | Performance more than doubled. |
| Network | Single-antenna WiFi 5 card, poor signal, no built-in Bluetooth. | WiFi 6 card with double the speed, a stable connection, and built-in Bluetooth. |
| Smart Features | - | Integrated with Mijia for voice or remote power control and supports home automation. |